Starting a YouTube Channel: A Step-by-Step Guide
In today’s digital age, YouTube has evolved into one of the most popular platforms for content creators, offering an avenue for individuals to express their creativity, share knowledge, and even earn income. Whether you are looking to turn a passion into profit or build a personal brand, starting a YouTube channel can be a rewarding journey. Here’s a comprehensive guide on how to begin.
Step 1: Define Your Channel’s Niche

Before diving into content creation, it’s essential to pinpoint the niche of your channel. The more focused your content, the easier it is to attract a dedicated audience. Some popular niches include:
- Entertainment: Vlogs, challenges, gaming, reaction videos.
- Educational: Tutorials, how-tos, lectures on specific topics.
- Product Reviews: Tech gadgets, beauty products, unboxing videos.
- Lifestyle: Fitness, travel, cooking, home décor.
Choosing a niche you are passionate about will keep you motivated and help your audience connect with you.
Step 2: Set Up Your Channel

- Create a Google Account if you don’t already have one. This will be linked to your YouTube channel.
- Create Your Channel: Go to YouTube, sign in with your Google account, and select “Create a channel.”
- Customize Your Profile:
- Channel Name: Choose a name that reflects your brand or niche.
- Profile Picture and Banner: These are the first visuals people will notice. Make sure they’re high-quality and represent your brand well.
- About Section: This is your channel’s bio. Keep it concise, but make sure to include what your channel is about and why viewers should subscribe.
Step 3: Plan and Create Content

A strong content plan is crucial for success on YouTube. Here’s how to approach it:
- Research and Brainstorm Content Ideas: Look at what other channels in your niche are doing. Find a balance between popular trends and unique content.
- Script and Storyboard Your Videos: Even if you’re doing casual vlogs, a basic structure helps keep your content engaging and on track.
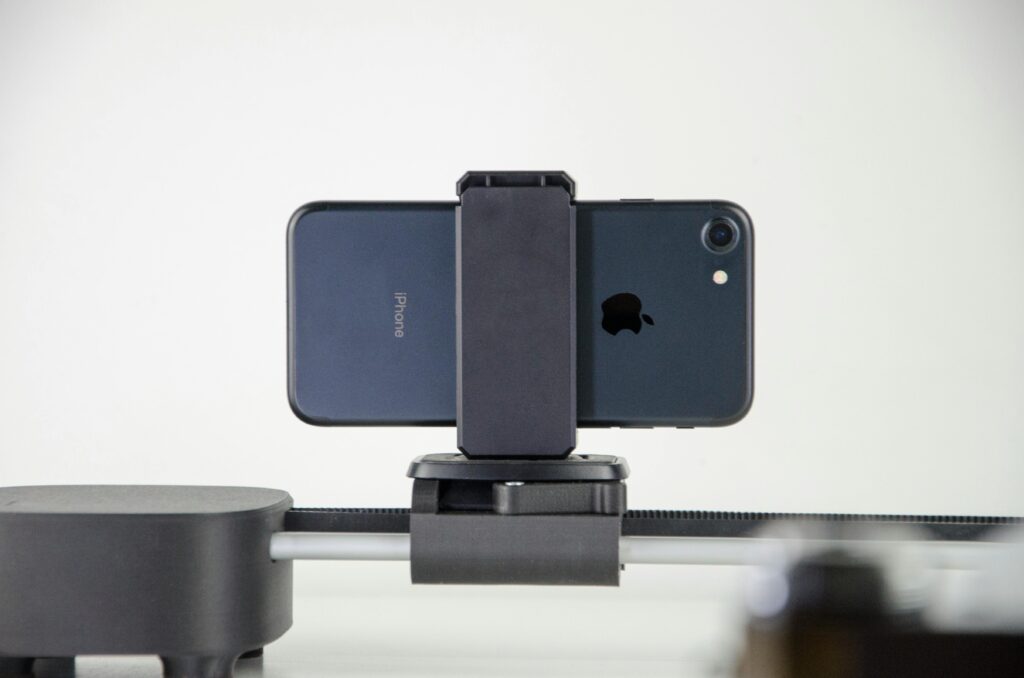
- Gather Equipment: While you don’t need to invest in expensive gear right away, having decent equipment can significantly improve the quality of your videos.
- Camera: Start with a smartphone or an affordable camera.
- Microphone: Good audio quality is just as important as video quality.
- Lighting: Natural light works great, but investing in basic lighting equipment can make your videos look more professional.
Step 4: Record and Edit Your Videos

- Recording Tips:
- Find a quiet space with minimal distractions.
- Make sure your video is well-lit and that the subject (you or your topic) is clear.
- Speak clearly and engage with the camera as if you’re talking to a friend.
- Editing Tools: You can start with free or affordable video editing software. Some popular tools include:
- iMovie (for Mac users)
- DaVinci Resolve (free version)
- Adobe Premiere Pro (paid, advanced features)
While editing, make your videos visually engaging. Use jump cuts to remove unnecessary pauses, add background music, and include text or graphics to highlight key points.
Step 5: Upload and Optimize Your Videos

Once your video is ready, it’s time to upload it to your channel:
- Title: Your video’s title should be catchy, relevant, and include important keywords for SEO (Search Engine Optimization). This helps viewers find your content.
- Description: Provide a detailed description of your video. Include links to your social media, relevant resources, or affiliate links if applicable.
- Tags and Keywords: Use relevant tags and keywords in your video’s metadata to improve discoverability. Tools like TubeBuddy or VidIQ can help you find trending keywords.
- Thumbnails: Create a custom thumbnail that stands out. Thumbnails should be clear, visually appealing, and give a sneak peek into your content.
- Call to Action: Encourage viewers to subscribe to your channel, like the video, and leave comments.
Step 6: Consistency and Engagement
To grow your channel, consistency is key. Establish a regular upload schedule (weekly, bi-weekly, etc.), and stick to it.
- Engage with Your Audience: Respond to comments, ask for feedback, and build a community around your content.
- Promote Your Videos: Share your videos on social media platforms, blogs, and forums to increase reach. Collaborating with other YouTubers can also boost visibility.
Step 7: Monetizing Your YouTube Channel

Once your channel starts gaining traction, you can begin to monetize your content. Here’s how:
- YouTube Partner Program (YPP):
- To qualify, you need 1,000 subscribers and 4,000 watch hours in the last 12 months.
- Once eligible, you can earn through ads that play on your videos.
- Affiliate Marketing:
- Promote products in your videos and include affiliate links in the description. Each time a viewer makes a purchase through your link, you earn a commission.
- Sponsorships:
- Brands may approach you to create sponsored content if your channel reaches a sizable audience. You can earn by showcasing products or services in your videos.
- Merchandise and Crowdfunding:
- Once you have a loyal following, you can sell branded merchandise like T-shirts or hats. Platforms like Patreon also allow fans to support your work directly.
Final Thoughts

Starting a YouTube channel is exciting, but it also requires dedication, creativity, and persistence. By focusing on producing valuable, engaging content and building a community around your channel, you can grow your audience and, eventually, earn a sustainable income. Just remember that success won’t come overnight, so enjoy the journey and keep learning as you go!
thanks
thnks more information